Wagoo User Guide
Everything you can do in Wagoo, screen by screen — the Loan CRM for servicing private loans, Loan Origination for taking applications, AI Underwriting for automated credit memos, and the AI Assistant that ties it together. Pick a starting point below.
Getting started
Quick startLog in, find your workspace, and complete your first task in five minutes.NavigationThe sidebar map, global search, statuses, and a glossary of lending terms.
Products
Loan CRMService funded loans: deals, borrowers, lender splits, insurance, draws, payments, and a 6,000-lender directory.Loan OriginationTake borrower applications through a pipeline, collect documents, and promote to servicing or underwriting.AI UnderwritingUpload deal documents and get a confidence-scored credit memo — DOCX, Excel, and CRE decks — in about a minute.AI AssistantChat with your portfolio, extract terms from documents, and make edits through an approve-before-apply workflow.
How Wagoo fits together
Section titled “How Wagoo fits together”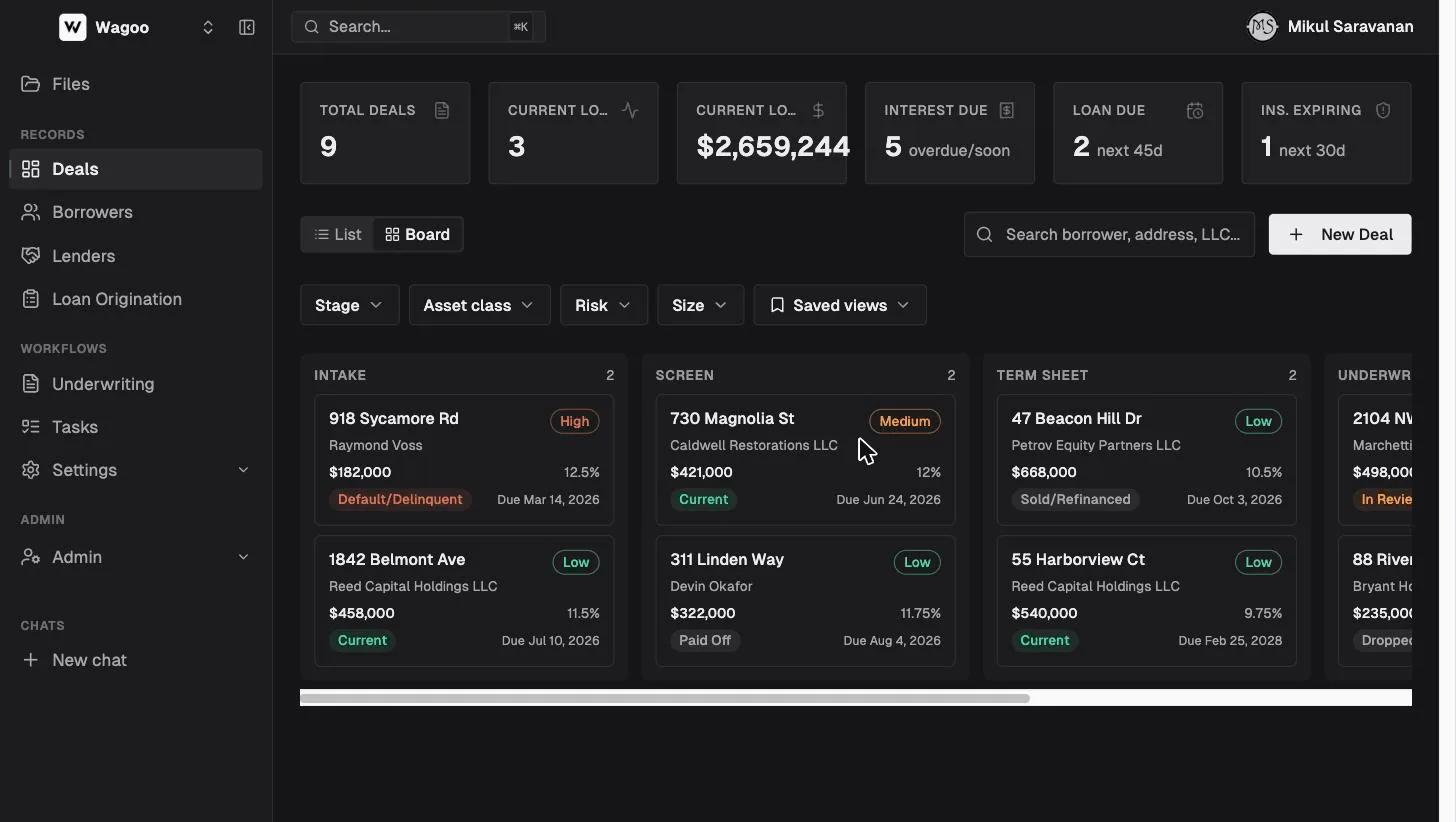
A typical lending workflow moves left to right — but every stage stands on its own, and many teams use just one:
- A borrower submits an intake form or a full loan application through a link you share.
- The application moves across your origination pipeline (New → Docs Requested → … → Approved).
- When it’s ready, you promote it into a CRM deal to service the loan, or send it to underwriting for AI analysis.
- In the CRM deal you manage lender splits, insurance, draws, payments, and documents through the life of the loan.
- The AI Assistant answers questions across all of it and drafts updates for you to approve.
What you’ll find in each guide
Section titled “What you’ll find in each guide”Every page walks a screen top to bottom, documents every field, button, and option with its exact on-screen label, and ends with a short FAQ. Conventions:
- Bold text in quotes (like “New Deal”) is a button or label exactly as it appears in the product.
- Screenshots use a demo workspace with fictional borrowers and deals — none of the names or numbers are real.
- Irreversible actions (delete, promote, submit) are flagged explicitly where they appear.